


How to configure FileZilla
This tutorial will review the process of how to configure FileZilla. We are assuming that you have already installed the FTP client on your local computer, but if you did not completed that task yet, you can download it via the officialFileZilla website.
To configure FileZilla, first click on the File button at the top-left corner.

Select the Site Manager option available on the File menu.

This is the panel, where you can enter information about your website. There are two available options:
- New Site - You can use this option to create the data for your website.
- New Folder -You can use this option if you add more than one website and you wish to group some of them together.

Enter the name of the new folder and then click on New Site.

Enter your FTP Hostname.

You need to enter the Port that you are using. If it is the default Port 21, simply leave the field blank. Also, choose the Protocol that you will use. Usually, this is set to FTP or sFTP, depending on your choice.
Use sFTP
We provide the ability to use sFTP connection to your account on the server. If you wish to use that, you will have to request it from our Support team with a new ticket.

Select encryption type. If you are not sure about this option, simply leave it to Use plain FTP.

The next option is the Logon Type you will be using. This is if you wish to login anonymously or use actual login information for your FTP user.

Select the Normal as a Logon Type so you can enter your username and password.

Enter the following details:
- User - Enter your FTP Username.
- Password - Enter your FTP Password.

You also have the ability to edit some additional options. To do so, you need to click on the Advanced tab

You have the ability to enter specific paths for the Default Local Directory and Default Remote Directory.

Select the Transfer Settings tab on the same window.

This step will allow you to use Active or Passive mode for the FTP connection. We do suggest the use of Passive. When you select the Transfer Mode you will use, click on OK to save it.

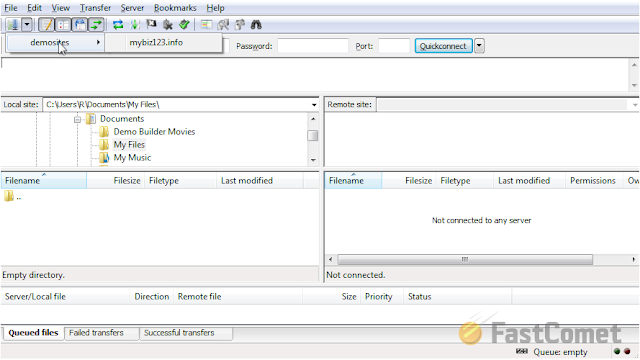
You now have a shortcut that will allow you to connect to your website on the server with a click of a button.

This is a good practice as it will save you time when you need to upload content to your website on a regular basis. Your FTP login details are already saved so you do not need to enter them each time.
If you wish to disconnect from the server, you have two ways of doing so. The first one is using the disconnect icon on the main navigation bar of FileZilla.

The second way of disconnecting is to click on the Server option at the main menu. Then simply select Disconnect.

------------------------------------------------------------------------


